Skip to content
  • Home
  • About
  • Services
    • Interiors
    • Exteriors
    • Restoration
    • Spray painting
    • Commercial
  • Blog
  • Gallery
  • Contact
-->
  • Home
  • About
  • Services
    • Interiors
    • Exteriors
    • Restoration
    • Spray painting
    • Commercial
  • Blog
  • Gallery
  • Contact

Category: decorating

How to wallpaper around windows

Posted on 30th August 20165th July 2018 by Louise Nelhams
How to wallpaper around windows

With time, patience and proper preparation, it’s perfectly possible for most handy DIYers to do a decent job of wallpapering. However, there are areas where even the most diligent amateurs struggle to produce a professional finish. Last time on our blog we talked about wallpapering around tricky obstacles like light fittings and plug sockets, but they’re child’s play compared to trying to wallpaper around windows! This month we’re going to demystify this dark art for you.

Preparation


If you’ve been reading our blog for a while you’ll know that preparation is the key to success. Make sure that:

  • You have enough paper to cover your chosen area.
  • Your walls are clean and blemish free.
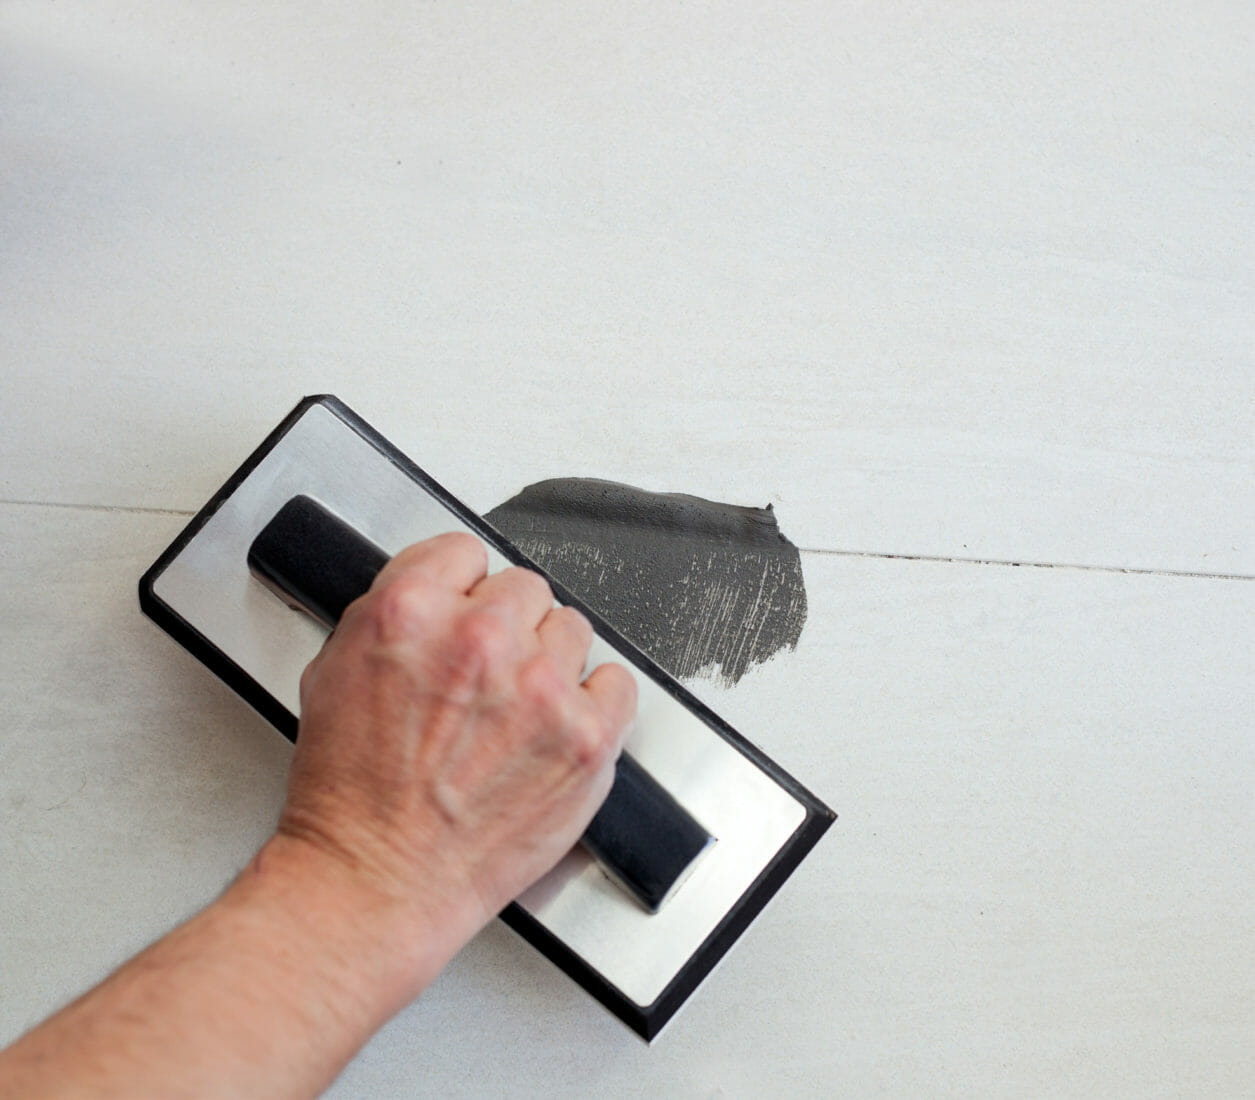
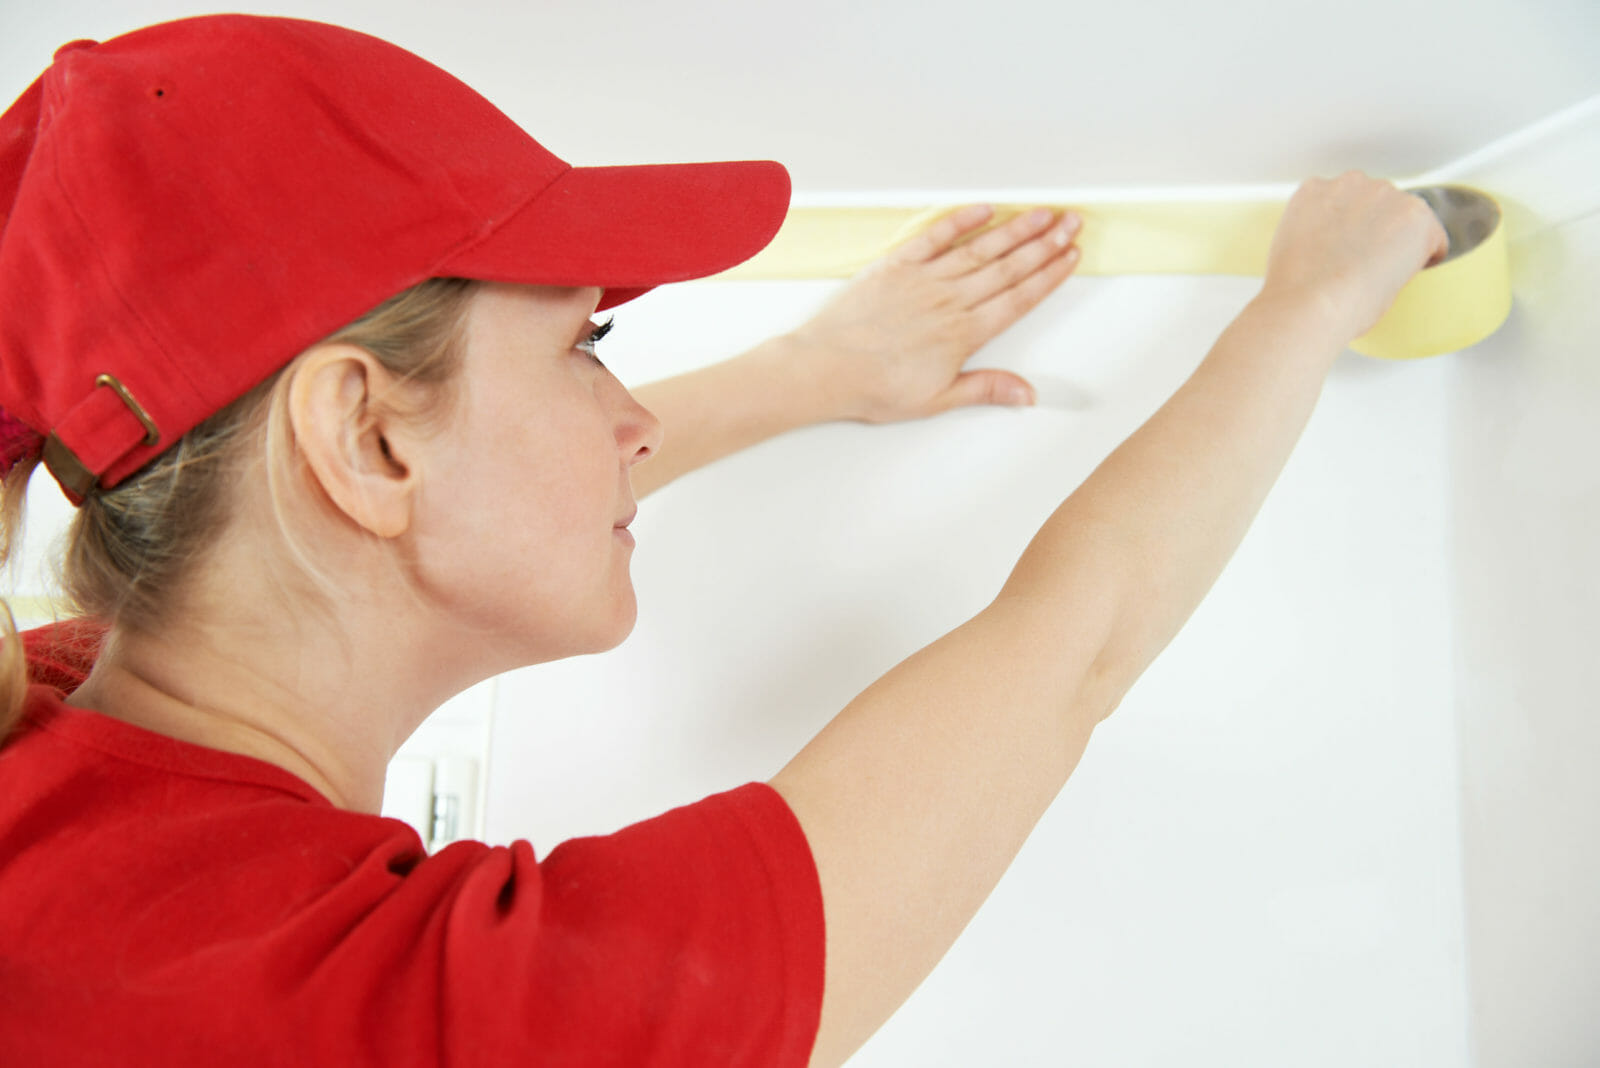
  • You have all the tools you need, such as sharp blades, pencils, tape measure, sharp scissors, spirit level, and pasting equipment.
  • You have a clear plan in mind before you hang your first sheet.

Windows are the most difficult obstacle to paper to a high standard, which is why we recommend starting with them so that you have total control of the overall process.

Example of someone wallpapering around a window


The method

We’ll take a fairly large window to begin with, but this applies equally to all sizes. Before you begin papering, read this set of instructions through a couple of times to be sure that you are clear on the method – a little like baking a cake!

  1. Begin on the right-hand side of the window with a strip of paper that overhangs the opening with enough paper to cover the inside reveal of the window.
  2. Cut the paper straight across the opening at the top and bottom so that you can neatly fold and paste the flap into the reveal.
  3. With a sharp blade carefully cut a section out so your strip fits snugly around the window sill – this is tricky so take your time – and hang the rest of the strip under the window down to the skirting board.
  4. Your next strip will hang from the ceiling down and under the head of the window with the corresponding strip going beneath the window sill to the floor.
  5. Repeat step 4 across the width frame if necessary.
  6. If you’re lucky, your final strip for the left hand reveal side will be large enough to simply repeat steps 1 and 2, but if not, cut a small flap for the reveal instead of a full sized one and paste it around the reveal corner.
  7. Now your task is to accurately measure and cut a strip of paper that fits the reveal and paste it in over the flap you just created. Be sure to match any pattern.
  8. Now cut small strips to fill the two gaps at either end of the head of the window. You can cut these with a small flap to fold up and under the end strips to create the neatest finish, but if this is too fiddly it’s okay to cut it to the edge.


We hope that this makes this tricky DIY task as manageable as possible, but if you find the idea overwhelming, call a professional decorating service like ours instead!


Categories

  • budget
  • colour trends
  • coving
  • decorating
  • decorating tips
  • decorator's varnish
  • DIY
  • DIY Projects
  • exterior decorating
  • How-to
  • Interior design
  • lining paper
  • paint brush
  • paint drying times
  • painting
  • painting exterior walls
  • painting fresh plaster
  • painting woodwork
  • repairing a concrete window sill
  • shabby chic
  • shabby chic decorating
  • stained glass
  • Stripping wallpaper
  • Uncategorized
  • varnish
  • wallpaper
  • wallpaper designs

Recent Posts

  • Decorating Trends for 2021
  • Bringing Life Into Your Home
  • Five Ways To Make Your Feature Wall Flourish
  • The Psychology Of Colour, And How To Use It!
  • Need Better Productivity? Redecorate Your Office!

Tips for wallpapering around obstacles

Posted on 2nd August 20165th July 2018 by Louise Nelhams
Tips for wallpapering around obstacles

Wallpapering is definitely one of those home improvement jobs that the majority of people can handle, but you do need to be properly prepared and willing to take your time. This is especially true when it comes to the tricky task of wallpapering around obstacles, such as light fittings and plug sockets. This week we’re going to offer you our top tips to make these jobs as simple as possible.


Light switches and plug sockets


The first thing to do whenever you’re working anywhere near electricity is to turn the power off at your junction box. It’s pointless to take a risk with this, so plan your wallpapering session well to ensure that you have plenty of daylight.

  1. Once the power is turned off you can unscrew the cover plates and remove them, being careful to store any screws safely.
  2. Hang the wallpaper straight over the holes then cut diagonal lines from corner to corner with a sharp blade.
  3. Carefully cut the flaps away with sharp scissors, smooth down the edges and allow the paper to dry.
  4. Once dry you can refit the cover plates for the sockets and light switches.


lighting switch
Get a neat finish like this by following our advice!

Arches

We wouldn’t blame you for looking at an archway and thinking that it’s beyond your skills to wallpaper, but with the correct technique it’s surprisingly easy. Like with all tricky jobs, the key is to take your time and keep calm!

  1. Hang the wallpaper down from the ceiling as normal, but when you get to the arch trim the paper in a curve that follows the arch and leaves about an inch of overhang.
  2. Make sure that you cut a straight line across the inside of the arch where the curve meets the vertical so that you can fold the paper neatly around the corner.
  3. Cut notches at 2” intervals along the overhanging paper around the arch to create lots of little wedges.
  4. Glue these wedges to the underside of the arch and smooth down.
  5. If you are wallpapering the other side of the arch repeat this process.
  6. Now measure a precise strip of wallpaper to fit the underside of the arch – make sure that it perfectly covers the little wedges.

Before you paste the measured strip, get someone to help you hold it in place to ensure it’s a good match – and remember to smooth the edges down firmly, but carefully!


Picture hooks


Picture hooks have a tendency to tear your paper if you attempt to lay straight over them so we recommend removing them first. Finding the holes afterwards is a nightmare, but there is a solution – matchsticks!


Simply cut small sections of matchstick and place in the holes where your picture hooks were. As you lay your paper the matchsticks will make little marks that you can use as reference points – but make sure you remove the sticks before smoothing the paper down!


Next month we’ll show you a fool proof way to lay wallpaper around windows – one of the toughest challenges for the DIYer…


Update tiles in your bathroom and kitchen for a new lease of life!

Posted on 27th June 20165th July 2018 by Louise Nelhams
Update tiles in your bathroom and kitchen for a new lease of life!

Giving your kitchen or bathroom a new lease of life is a great way to upgrade your property, but a complete refit can be expensive so that may be out of the question. The simple and much more cost-effective solution is to update tiles already in place for a fast and funky refresh, and this week we’re going to share our top tips on sprucing them up without breaking the bank.


It’s all about the grout


Freshly laid tiles always look beautiful because the grout is clean, but after a period of time high traffic areas start to appear tired or downright dirty. Even regular cleaning of the tiles and grout can’t completely revitalise them and keep that perfect white finish, so the question is, “what are our options?”


Grout pens


Grout pens offer a simple and cost-effective solution to the problem, but it’s still important to do the job properly. Clean the grout beforehand with a toothbrush and abrasive kitchen cleaner – the longer you spend on this step, the longer the effect of the pen will last. There are downsides to pens, however: after a while the nibs wear down and need to be replaced, and the result can look a little amateurish if you’re not careful during application.


Regrouting


For a quick touch-up, grout pens are fine, but if you really want to do the job properly it’s worth buying a grout scraper and getting that old stuff out! Go for a steel scraper because even though they’re not as strong as carbide, they’re a touch softer and less likely to damage your tiles if you slip. You’ll also need a Stanley knife with lots of spare blades for areas the scraper won’t fit. If you have a big bathroom or kitchen to regrout, we recommend a grout grabber – an attachment for a reciprocating saw that will make the job whizz by!


When regrouting mix the grout in small batches because it’s a race against the clock to get it on the wall. As soon as it starts to firm up (between 5-20 minutes depending on the weather and subsequent conditions) begin sponging it down to create a smooth finish.


Tile paint


If you’re not happy with the colour of your tiles, you can also find lots of different coloured tile paint in DIY stores. You can choose to paint alternate tiles, then alternate again on the next row for a checkerboard effect, or simply paint the whole lot – loads cheaper than removing them and replacing them, and much less labour-intensive too.

checkerboard tiles in red and black
Paint your tiles and create a checkerboard effect

Something different?


White is the standard colour for grout, but what if you fancy changing the feel of your room? Switching from white grout to black will give your bathroom or kitchen an art deco look for almost no money – a great style change that will get your visitors talking. Or you may have your own colour scheme in mind.

white tiles with black grout
Go ‘art deco’ with black grout with your white tiles

Another way to update tiles is to use some transfers – there are loads on the market so you’re sure to find something that suits your personal taste.


As long as you take your time, all of these jobs are possible for the enthusiastic DIYer, but, of course, if you think that it might be a little overwhelming you can call a professional… just like us!


Decorating tips to make any space feel bigger

Posted on 29th April 20165th July 2018 by Louise Nelhams
Decorating tips to make any space feel bigger

In your ideal home space is probably not a problem, but not all of us are living in the house of our dreams just yet! That’s why it’s useful to know how to create the illusion of space, turning that tiny little box room or study into an environment you feel happy spending time in. This week we’ll give you our top decorating tips for doing just that.


Keep things light

Try to keep a smaller space as bright as possible by painting your walls with light colours and avoiding dark floorboards or carpets. Dark colours absorb light and make you feel closed in, where light colours reflect the light in the room, making it feel airy and giving the impression of openness and space. Light blues, greens, creams and greys are great choices.


Use stripes!

Every woman knows that the careful use of stripes in clothing can make you appear taller and slimmer, and you can utilise the same approach in your room, by painting stripes on your floor to give the illusion of depth. This trick works with your walls to add the appearance of height too, but don’t try both together unless you want your room to look like a boiled sweet!

room with striped wallpaper
Stripes add height to a small space


Use your ceilings

We rarely think too deeply about how our ceilings are decorated, but in a small space every surface counts. Adding a bolder colour to the ceiling, or stencilling in some conversation pieces (stars look great) will help to draw the eyes upward and further enhance the illusion of spaciousness.


Ditch the overhead lights

Wall uplighters spread around the room work much better in a cramped environment than a single overhead light source, because they give the eyes more focal points to dance around. The bonus is that is also allows you much more control of the ambience too – switch individual lights on and off to adjust the atmosphere from bright and vibrant, to calm and relaxed.


Use colour cleverly

What do you do if you want to give the illusion of height to a room but don’t want to turn the ceiling into a feature? That’s easy: just add a little colour to the very top of your walls to draw the eyes upwards and give the impression of height. You can be as creative as you like with this decorating tip – go for anything from a single block of colour to a softer more organic ‘splash’ effect.

Follow these top decorating tips and you can convert your tiny room from an oppressive and stuffy space into a more open and inviting area that’s a pleasure to use.

Preparing and painting exterior walls the right way!

Posted on 29th March 20165th July 2018 by Louise Nelhams
Preparing and painting exterior walls the right way!

Nothing spruces up and adds perceived value to your property quicker than a new coat of paint, but do it wrong and your house will look woeful instead of wonderful. Many say that this is work best left to the professionals, and it’s certainly true that a seasoned pro will do a more efficient job of preparing and painting exterior walls. But with a little planning and preparation, it’s possible to make a decent go of it yourself – and this week in our blog, we’ll show you how…

Tools for the job

We say it often, but the best way to ensure a professional finish is to use the correct tools for the job. When it comes to prepping exterior walls you will need a medium or stiff wire brush to remove any loose paint and dirt from the walls, a scraper to remove areas of loose brick and cement, and a good quality ladder to ensure that you’re safe. We talked about ladder safety in a previous blog – please read it for reference before you start!

Preparation

Many of the principles we employ for painting interior walls also apply to the outside of your property – like spending at least as much time prepping as painting. Make sure that you remove all loose paint, dirt and masonry with the correct tools, followed by a wash down with detergent if the walls are dirty. Oh, and be sure to deal with any areas of fungus growth etc with a fungicidal wash.

Follow this process up by filling in any damaged areas with exterior filler and rubbing down, along with the existing paint, so that the new paint will adhere correctly. Pay particular attention to areas where the paint has flaked unevenly, rubbing down the edges to smooth them out – a medium grade sandpaper is ideal for this job.


scaffolding on house for painting
An exterior painting job of this size may require a pro!

Sealing and priming the walls

If the existing paint is in decent condition and you’re repainting the same colour it may be possible to skip the priming process, but it’s still best practice to do it and will give the best finished results. For bare walls, a masonry primer is essential to seal and create a surface that will take the final coats well. Use a medium to long piled roller for this job to quickly cover large areas and seal efficiently.

Painting the walls

If you’ve prepared your walls well, painting them becomes a pleasure rather than a chore. Mask up windows, sills and pipes in the same way as you would internally, and begin painting from the top of your house down so that you can better control dribbles. The brush or roller you use is dependent on the finish of your walls: smooth walls require a shorter pile than a heavily textured wall, and very heavily textured walls may necessitate a stippling action with a large brush (it may be better to leave that to the pros!).

If you follow our advice your house will soon be looking fantastic, but, of course, if you don’t fancy all this hard work yourself you can give us a call – we’ll be happy to do it for you! 


How to avoid potential DIY disasters!

Posted on 27th February 20165th July 2018 by Louise Nelhams
How to avoid potential DIY disasters!

We’ve been called in to rectify many DIY disasters in our time as professional painters and decorators, so this week we thought it would be a good idea to share with you some of our do’s and don’ts that will keep you safe in your home while you decorate. Some of these might seem obvious, but it always pays to cover all the bases when your safety is at stake.

Ladder safety

One of the primary causes of DIY accidents is poor ladder safety. A ladder is something that most of us own, but will rarely have been taught how to use properly. These simple tips will ensure that you never come a cropper:

  • Try to maintain three points of contact (two feet and one hand)
  • Always wear shoes with decent grip
  • Never over-reach
  • Reset the position of a ladder after 30mins to ensure it’s still secure
  • Try to maintain the optimum angle of 4:1 – the distance the bottom of the ladder is from the wall should be 1/4 of the height the ladder is against the wall
  • Always inspect your ladder for signs of damage or excessive wear before use
man falling off a ladder
Breaking the ‘3 points of contact’ rule

Drill safety

Hot on the heels of ladder accidents are disasters with a drill. These top tips should keep you safe:

  • Before drilling always check for wires and pipes with a pipe and live wire detector
  • Wear safety goggles!
  • Use the right drill for the job – a hammer drill is essential for heavy work
  • Consider cordless, because you can’t trip over a cord that isn’t there
  • Use the correct size bit for the screw to prevent shearing and potentially dangerous slipping
Man drilling with safety goggles
This guy’s doing it right!

Electrical safety

Whilst we’re all for people attempting their own DIY, we do strongly advise that you employ a qualified electrician for any electrical jobs. However, when it comes to decorating, as long as you’re safe around the electrics in your house you should be fine. Always remember to:

  • Use a plugin RCD with any electrical equipment such as drills, steamers or sanders so that in the unfortunate event of an accident, the power is instantly killed
  • Always cover plug sockets or use inserts when painting or stripping wallpaper with a steamer or wet rag

Breathe easily

Paints, varnishes and adhesives all have safety advice on the label for a reason, so please don’t ignore it.

Always apply these in a well-ventilated room and wear the appropriate mask for the job. This is especially important with high VOC products such as varnish and gloss paint, or if you’re in a small room. You might want to consider one of the excellent VOC-free or organic products on the market now – especially if you have health problems.

Painter Wearing Mask
Always use a mask when spraying

So if you want to minimise the risk of suffering any DIY disasters during your decorating and refurbishment adventures, follow this great advice, but if you’re in any doubt give the professionals a call – that’s us!


A brief history of wallpaper

Posted on 3rd February 20165th July 2018 by Louise Nelhams
A brief history of wallpaper

It would be fair to say that most of us take wallpaper completely for granted, but here at Rushton & Company, we like to take a bit of a geeky interest in the origins of our work – so this week we’re going to share a brief history of wallpaper with you…

Wallpaper – the early years

Wallpaper has been around in some form or another for a very long time. As early as 200BC, the Chinese were gluing rice paper to their walls, but it wasn’t until the 10th century that Arabs started using linen fibres to create stronger and thinner papers that allowed for greater printing experimentation.

Production methods barely changed until fairly recently, with printing blocks being the recognised method of transferring patterns to paper – a method still used today on premium products. However, this all changed with the introduction of the paper roll designed by Louis Robert in France in 1798. Up until this point, wallpaper was made by pasting together up to 12 handmade pieces of paper – a laborious and expensive task – but when Fourdrinier came along in 1807 and patented a machine designed to create rolls of any length, the entire landscape changed.

Thus began the heyday of wallpaper…

The 19th century

During the 19th century, wallpaper became the standard choice for interior decoration, but it was not without its problems. The use of lead and arsenic (yes, you read that right!) in many of the dyes raised some pretty obvious health concerns, causing manufacturers to think again and invest in better quality dyes.

The 19th century also saw the birth of the dado rail – a feature designed to create interest and juxtaposition in interior design. This idea remained popular into the late-Victorian period where it was expanded to include friezes and statement walls, or even complementary patterns on the same wall.

The 20th century

Modernism in the mid to late 30s largely put paid to wallpaper, where it was shunned in favour of clean and minimal painting – but until then, the 20th century was awash with cubist and futurist Art Deco wallpaper designs for the masses. The more well-to-do members of society embraced Art Deco too, but reverted back to silk and fabric printed papers for a more traditional (and expensive) look.

retro style wallpaper
Retro wallpaper from the 70s and 80s

The 40s through to the 70s brought us papers that fitted the times perfectly: flowery and cheerful designs to brighten war-time houses for the 40s; futuristic and zany designs for the atomic age of the 50s; psychedelic designs for the swinging 60s, and garish designs that took the experimentation of the 60s into the 70s.

The 80s were largely the age of woodchip – the design that saw wallpaper fall dramatically out of fashion. It wasn’t until very recently that wallpaper made a comeback, but with retro designs and some beautiful modern papers being produced to a very high standard again, we’re seeing much more call for our wallpapering services.

We hoped you enjoyed reading our quick guide to the history of wallpaper – if you’re not sure what type of wallpaper is best suited for your home, take a look at our blog which explains the different wallpapers on the market today, and their application.


How to choose the right paint brush

Posted on 23rd December 20155th July 2018 by Louise Nelhams
How to choose the right paint brush

Quality

As professionals, we always recommend buying the best quality you can afford, but with the advances in manufacturing, it’s now possible to buy a high-quality mid-range brush that will do a great job for the DIYer. As a general rule, go for a less absorbent synthetic brush for water-based paints and a natural bristle brush for solvent-based products because it will hold the paint or varnish better and prevent tramlines.

If you’re on a budget you can buy some great all-rounders with a mixture of both bristles.

Shape

In much the same way that the correct bristles make the job easier, choosing the shape that fits the task will help you to produce an excellent finish and limit the frustration that’s sure to occur if you choose the wrong type! Let’s have a quick look at the choices:

  • Masonry brush – big and tough for dashing in large, rough areas
  • Angled sash brush – perfect for cutting in corners and getting a good finish around trim areas
  • Radiator brush – instead of removing the radiator, or pretending the back doesn’t need painting, you can use one of these long-handled brushes designed for the job
  • Fence and shed brush – designed for large sweeping strokes, this hefty brush can be loaded with loads of paint for quick coverage
  • Square cut brush – the perfect all-rounder! Buy them in various sizes to cover a multitude of jobs
  • Round brush – this is the pro’s favourite because, much like an artist’s paint brush, it gives control over the size of the stroke. It does require a higher level of skill to use correctly though

Size

With most brushes falling into the 1-5 inch range it’s best to choose one that is slightly narrower than the width of the stroke you wish to make – especially important for any strip of wood that has an overhang because a brush that’s too wide will overlap the edge and cause runs and drips to form.

We hope that this simple guide on how to choose the right paint brush goes a long way to helping your decorating projects go as smoothly as possible. If you’re in any doubt, call the experts in to do the job – that’s us!


Plasterwork restoration

Posted on 1st December 20155th July 2018 by Louise Nelhams
Plasterwork restoration

Over the last thirty years or so it’s become more common for cornice, coving and ceiling rose work to be moulded from polystyrene, which is cheap and easy to fit. But period houses will probably still have traditional plasterwork, which is generally very hardwearing – after all, some of it will have been in place for well over 100 years!

Over time though, wear and tear will start to have an effect on the finish of these intricate pieces, and you’ll be required to show them a bit of TLC. This week on our blog we’re going to show you the process we use to restore these beautiful features back to their former glory.

A job for the pros!

Whilst we’re happy to encourage DIY wherever possible, it’s definitely best to leave plasterwork restoration to a pro. Old plasterwork that’s seen better days can be very fragile, and the clean-up and restoration process needs to be done with a steady and slow hand – there’s no room to rush this job.

Langlow Peel Away

We have always had excellent results using Langlow Peel Away for this work. It’s a chemical paste designed to melt away the old paintwork without damaging the plaster underneath. It has to be applied carefully, ensuring that every part of the paintwork has a good coating before being covered with clingfilm and left for 24 hours. This product works wonders and, if used correctly, can easily strip through 30 layers of paint!

Neutraliser

After stripping back the paint, it’s crucial to treat the uncovered plasterwork with a neutraliser to stop the newly applied paint from coming away from the plaster. We use a proprietary solution, but the job can be done just as effectively with a solution of distilled vinegar.

Hidden gems

We’re always amazed at some of the beautiful features we uncover during this process: it’s not uncommon for us to find original brass fittings and detail pieces that have been hidden away under layer after layer of paint for years – what a shame!

We treat these with a liquid paint stripper and then give them a new lease of life with a liberal application of Brasso to make them shine like new.

The right paint

Because of the delicate nature of this old plasterwork, modern paints rarely work, so when we work to restore them, we apply handmade and traditional paints from local Yorkshire companies like Womersley’s in Heckmondwick and Hicks and Weatherburn in Leeds. Both of these companies produce beautiful period paints made with traditional ingredients designed to stay up for years.

So if you live in the Leeds area and have some plasterwork that you’d like restoring back to its original beauty, then please give us a call and we’ll be happy to come take a look.

Decorating finishes – the final flourishes that bring professional results

Posted on 3rd November 20155th July 2018 by Louise Nelhams
Decorating finishes – the final flourishes that bring professional results

Most people feel that they have the skills to tackle a bit of home decorating. After all, how difficult can it be the throw up some wallpaper or splash a bit of paint over the walls and woodwork? There’s a difference, however, between doing a job and doing a great job! This week we’re going to share some top tips for finishing off your decorating like a pro. But first you need to be prepared…

Preparation is half the battle

Prepare properly by planning exactly how you’ll approach the task. Invest in the best quality paint, wallpaper and tools you can afford, because these will make it so much easier to work. Professional decorators don’t make do with inferior gear so you shouldn’t either – let’s face it, it’s almost impossible to paint well with an old brush you found in the garden shed!

Spend as much time as possible preparing your walls by filling in any imperfections, sanding and washing down with sugar soap. This task can seem tedious, but it’s worth the effort – especially if you’re painting rather than wallpapering.

Masking off

It’s the finishing and detail that separates a pro’s work from the average amateur, but that doesn’t mean that you have to be sloppy. Mask off your light and plug fittings with neat straight lines of masking tape, and do the same with your walls or ceilings, but with decorator’s tape instead, which isn’t as tacky and will not pull paint from the wall or paper.

Prevent paint from bleeding under the tape by making sure that you press it down firmly at the edges. Paint away from the tape rather than towards it, and use a fairly dry brush for the first coat to create a seal along the tape – another great way to prevent bleeding.

It’s also worth taping down drop cloths to protect your carpets and floors from paint. You’ll be amazed (but not in a good way!) at how much mess a single drop of paint spread around the room on your shoes can make.

We also suggest wrapping a black bin liner around your light fittings and covering any furniture that isn’t being removed from the room.

Work from the top down

There’s little point painting or wallpapering your walls and skirting boards and then doing the ceiling and alcoves! Always start at the top and work down to prevent ruining your work.

Touching up

Painter ensuring good decorating finish by touching up the paint work

Okay, so we know that you’re exhausted and you want to put your feet up and forget about the decorating, but it’s well worth going around the room and checking for imperfections. In our experience, DIYers who don’t touch up the little imperfections straight away tend to leave them forever – something a pro would never do!

Posts navigation

Older posts
Newer posts
  • Terms & Conditions
  • Privacy & Cookies
  • © Rushton & Co. Ltd. 2013
  • Painting Contractors
  • About
  • Contact
  • Sitemap
  • Tradespeople Link Up
This website uses cookies to improve your experience. We'll assume you're ok with this, but you can opt-out if you wish.Accept Read More
Privacy & Cookies Policy

Privacy Overview

This website uses cookies to improve your experience while you navigate through the website. Out of these cookies, the cookies that are categorized as necessary are stored on your browser as they are essential for the working of basic functionalities of the website. We also use third-party cookies that help us analyze and understand how you use this website. These cookies will be stored in your browser only with your consent. You also have the option to opt-out of these cookies. But opting out of some of these cookies may have an effect on your browsing experience.
Necessary
Always Enabled
Necessary cookies are absolutely essential for the website to function properly. This category only includes cookies that ensures basic functionalities and security features of the website. These cookies do not store any personal information.
Non-necessary
Any cookies that may not be particularly necessary for the website to function and is used specifically to collect user personal data via analytics, ads, other embedded contents are termed as non-necessary cookies. It is mandatory to procure user consent prior to running these cookies on your website.
SAVE & ACCEPT

WhatsApp us