We’ve been called in to rectify many DIY disasters in our time as professional painters and decorators, so this week we thought it would be a good idea to share with you some of our do’s and don’ts that will keep you safe in your home while you decorate. Some of these might seem obvious, but it always pays to cover all the bases when your safety is at stake.
Ladder safety
One of the primary causes of DIY accidents is poor ladder safety. A ladder is something that most of us own, but will rarely have been taught how to use properly. These simple tips will ensure that you never come a cropper:
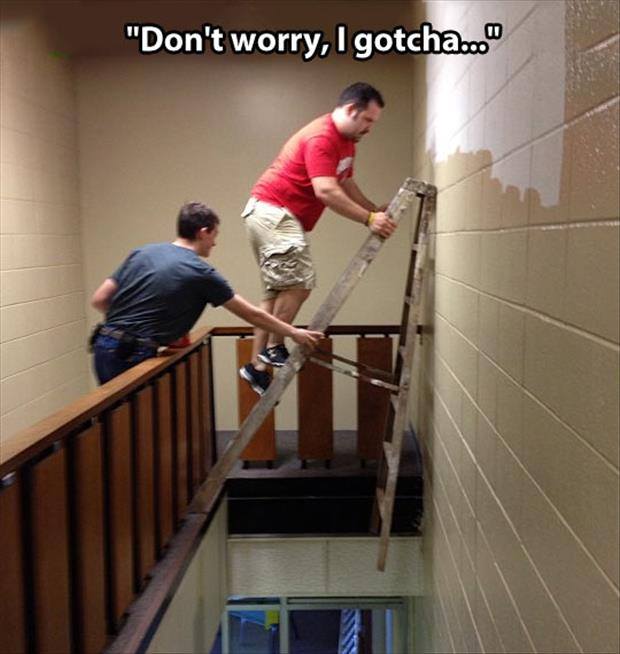
Try to maintain three points of contact (two feet and one hand)
Always wear shoes with decent grip
Never over-reach
Reset the position of a ladder after 30mins to ensure it’s still secure
Try to maintain the optimum angle of 4:1 – the distance the bottom of the ladder is from the wall should be 1/4 of the height the ladder is against the wall
Always inspect your ladder for signs of damage or excessive wear before use
Breaking the ‘3 points of contact’ rule
Drill safety
Hot on the heels of ladder accidents are disasters with a drill. These top tips should keep you safe:
Before drilling always check for wires and pipes with a pipe and live wire detector
Wear safety goggles!
Use the right drill for the job – a hammer drill is essential for heavy work
Consider cordless, because you can’t trip over a cord that isn’t there
Use the correct size bit for the screw to prevent shearing and potentially dangerous slipping
This guy’s doing it right!
Electrical safety
Whilst we’re all for people attempting their own DIY, we do strongly advise that you employ a qualified electrician for any electrical jobs. However, when it comes to decorating, as long as you’re safe around the electrics in your house you should be fine. Always remember to:
Use a plugin RCD with any electrical equipment such as drills, steamers or sanders so that in the unfortunate event of an accident, the power is instantly killed
Always cover plug sockets or use inserts when painting or stripping wallpaper with a steamer or wet rag
Breathe easily
Paints, varnishes and adhesives all have safety advice on the label for a reason, so please don’t ignore it.
Always apply these in a well-ventilated room and wear the appropriate mask for the job. This is especially important with high VOC products such as varnish and gloss paint, or if you’re in a small room. You might want to consider one of the excellent VOC-free or organic products on the market now – especially if you have health problems.
Always use a mask when spraying
So if you want to minimise the risk of suffering any DIY disasters during your decorating and refurbishment adventures, follow this great advice, but if you’re in any doubt give the professionals a call – that’s us!
It would be fair to say that most of us take wallpaper completely for granted, but here at Rushton & Company, we like to take a bit of a geeky interest in the origins of our work – so this week we’re going to share a brief history of wallpaper with you…
Wallpaper – the early years
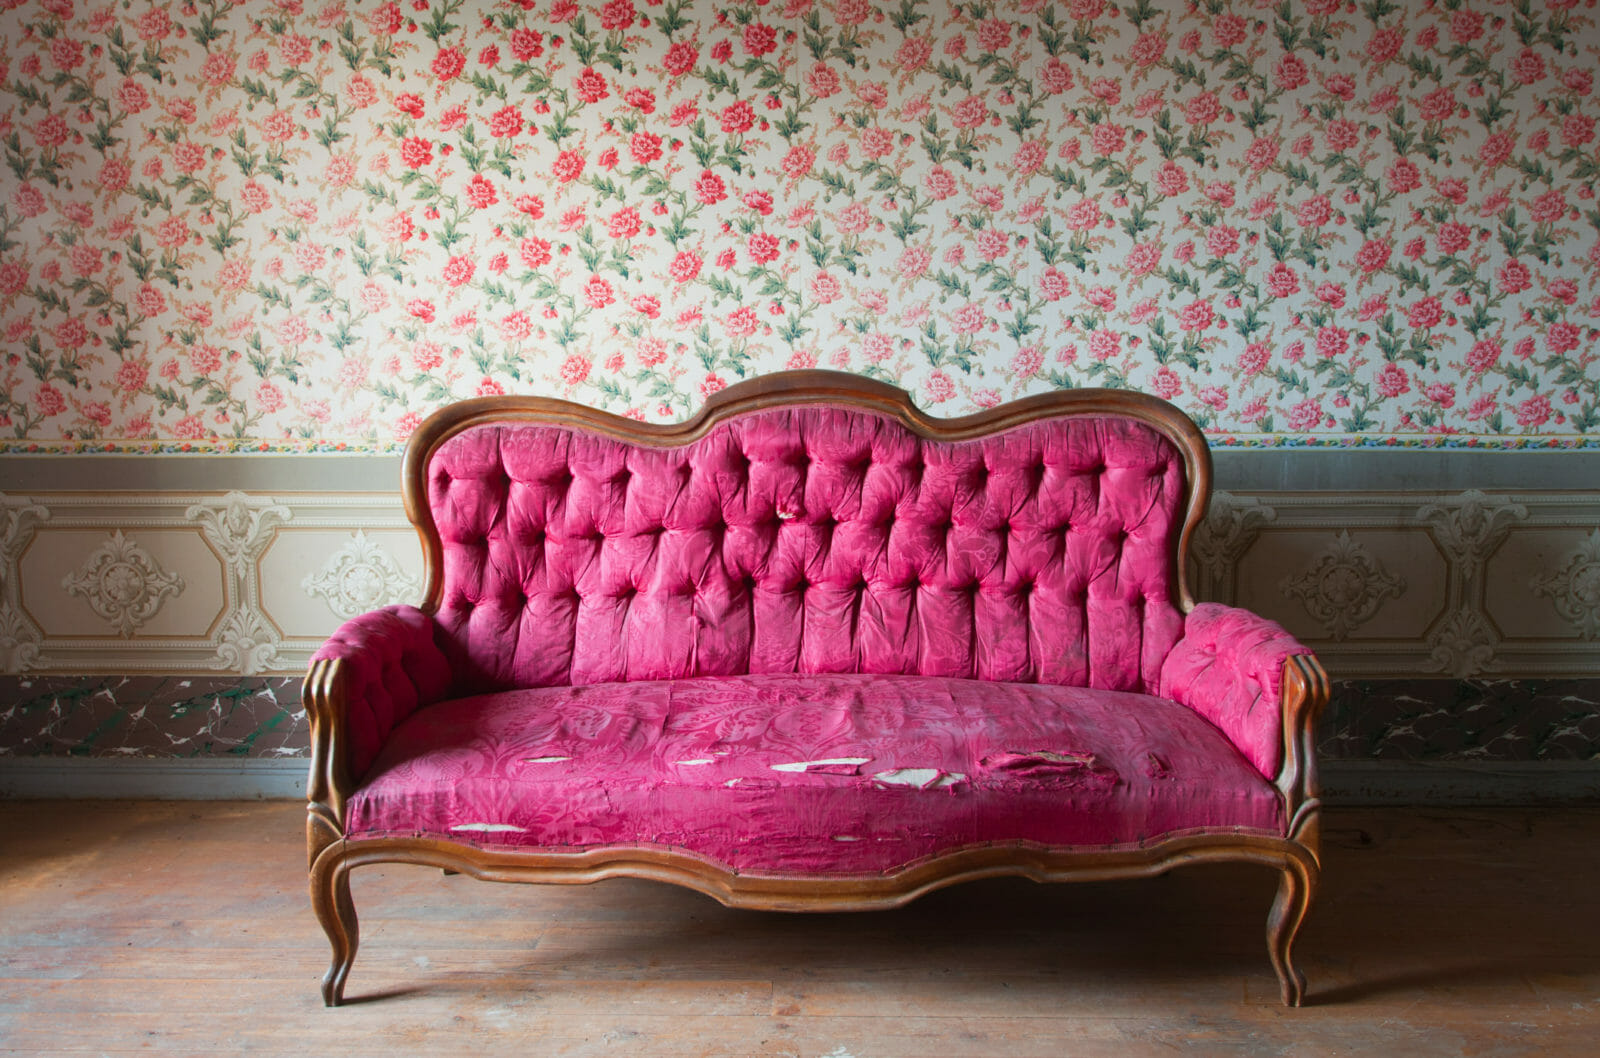
Wallpaper has been around in some form or another for a very long time. As early as 200BC, the Chinese were gluing rice paper to their walls, but it wasn’t until the 10th century that Arabs started using linen fibres to create stronger and thinner papers that allowed for greater printing experimentation.
Production methods barely changed until fairly recently, with printing blocks being the recognised method of transferring patterns to paper – a method still used today on premium products. However, this all changed with the introduction of the paper roll designed by Louis Robert in France in 1798. Up until this point, wallpaper was made by pasting together up to 12 handmade pieces of paper – a laborious and expensive task – but when Fourdrinier came along in 1807 and patented a machine designed to create rolls of any length, the entire landscape changed.
Thus began the heyday of wallpaper…
The 19th century
During the 19th century, wallpaper became the standard choice for interior decoration, but it was not without its problems. The use of lead and arsenic (yes, you read that right!) in many of the dyes raised some pretty obvious health concerns, causing manufacturers to think again and invest in better quality dyes.
The 19th century also saw the birth of the dado rail – a feature designed to create interest and juxtaposition in interior design. This idea remained popular into the late-Victorian period where it was expanded to include friezes and statement walls, or even complementary patterns on the same wall.
The 20th century
Modernism in the mid to late 30s largely put paid to wallpaper, where it was shunned in favour of clean and minimal painting – but until then, the 20th century was awash with cubist and futurist Art Deco wallpaper designs for the masses. The more well-to-do members of society embraced Art Deco too, but reverted back to silk and fabric printed papers for a more traditional (and expensive) look.
Retro wallpaper from the 70s and 80s
The 40s through to the 70s brought us papers that fitted the times perfectly: flowery and cheerful designs to brighten war-time houses for the 40s; futuristic and zany designs for the atomic age of the 50s; psychedelic designs for the swinging 60s, and garish designs that took the experimentation of the 60s into the 70s.
The 80s were largely the age of woodchip – the design that saw wallpaper fall dramatically out of fashion. It wasn’t until very recently that wallpaper made a comeback, but with retro designs and some beautiful modern papers being produced to a very high standard again, we’re seeing much more call for our wallpapering services.
We hoped you enjoyed reading our quick guide to the history of wallpaper – if you’re not sure what type of wallpaper is best suited for your home, take a look at our blog which explains the different wallpapers on the market today, and their application.
As professionals, we always recommend buying the best quality you can afford, but with the advances in manufacturing, it’s now possible to buy a high-quality mid-range brush that will do a great job for the DIYer. As a general rule, go for a less absorbent synthetic brush for water-based paints and a natural bristle brush for solvent-based products because it will hold the paint or varnish better and prevent tramlines.
If you’re on a budget you can buy some great all-rounders with a mixture of both bristles.
Shape
In much the same way that the correct bristles make the job easier, choosing the shape that fits the task will help you to produce an excellent finish and limit the frustration that’s sure to occur if you choose the wrong type! Let’s have a quick look at the choices:
Masonry brush – big and tough for dashing in large, rough areas
Angled sash brush – perfect for cutting in corners and getting a good finish around trim areas
Radiator brush – instead of removing the radiator, or pretending the back doesn’t need painting, you can use one of these long-handled brushes designed for the job
Fence and shed brush – designed for large sweeping strokes, this hefty brush can be loaded with loads of paint for quick coverage
Square cut brush – the perfect all-rounder! Buy them in various sizes to cover a multitude of jobs
Round brush – this is the pro’s favourite because, much like an artist’s paint brush, it gives control over the size of the stroke. It does require a higher level of skill to use correctly though
Size
With most brushes falling into the 1-5 inch range it’s best to choose one that is slightly narrower than the width of the stroke you wish to make – especially important for any strip of wood that has an overhang because a brush that’s too wide will overlap the edge and cause runs and drips to form.
We hope that this simple guide on how to choose the right paint brush goes a long way to helping your decorating projects go as smoothly as possible. If you’re in any doubt, call the experts in to do the job – that’s us!
Over the last thirty years or so it’s become more common for cornice, coving and ceiling rose work to be moulded from polystyrene, which is cheap and easy to fit. But period houses will probably still have traditional plasterwork, which is generally very hardwearing – after all, some of it will have been in place for well over 100 years!
Over time though, wear and tear will start to have an effect on the finish of these intricate pieces, and you’ll be required to show them a bit of TLC. This week on our blog we’re going to show you the process we use to restore these beautiful features back to their former glory.
A job for the pros!
Whilst we’re happy to encourage DIY wherever possible, it’s definitely best to leave plasterwork restoration to a pro. Old plasterwork that’s seen better days can be very fragile, and the clean-up and restoration process needs to be done with a steady and slow hand – there’s no room to rush this job.
Langlow Peel Away
We have always had excellent results using Langlow Peel Away for this work. It’s a chemical paste designed to melt away the old paintwork without damaging the plaster underneath. It has to be applied carefully, ensuring that every part of the paintwork has a good coating before being covered with clingfilm and left for 24 hours. This product works wonders and, if used correctly, can easily strip through 30 layers of paint!
Neutraliser
After stripping back the paint, it’s crucial to treat the uncovered plasterwork with a neutraliser to stop the newly applied paint from coming away from the plaster. We use a proprietary solution, but the job can be done just as effectively with a solution of distilled vinegar.
Hidden gems
We’re always amazed at some of the beautiful features we uncover during this process: it’s not uncommon for us to find original brass fittings and detail pieces that have been hidden away under layer after layer of paint for years – what a shame!
We treat these with a liquid paint stripper and then give them a new lease of life with a liberal application of Brasso to make them shine like new.
The right paint
Because of the delicate nature of this old plasterwork, modern paints rarely work, so when we work to restore them, we apply handmade and traditional paints from local Yorkshire companies like Womersley’s in Heckmondwick and Hicks and Weatherburn in Leeds. Both of these companies produce beautiful period paints made with traditional ingredients designed to stay up for years.
So if you live in the Leeds area and have some plasterwork that you’d like restoring back to its original beauty, then please give us a call and we’ll be happy to come take a look.
Most people feel that they have the skills to tackle a bit of home decorating. After all, how difficult can it be the throw up some wallpaper or splash a bit of paint over the walls and woodwork? There’s a difference, however, between doing a job and doing a great job! This week we’re going to share some top tips for finishing off your decorating like a pro. But first you need to be prepared…
Preparation is half the battle
Prepare properly by planning exactly how you’ll approach the task. Invest in the best quality paint, wallpaper and tools you can afford, because these will make it so much easier to work. Professional decorators don’t make do with inferior gear so you shouldn’t either – let’s face it, it’s almost impossible to paint well with an old brush you found in the garden shed!
Spend as much time as possible preparing your walls by filling in any imperfections, sanding and washing down with sugar soap. This task can seem tedious, but it’s worth the effort – especially if you’re painting rather than wallpapering.
Masking off
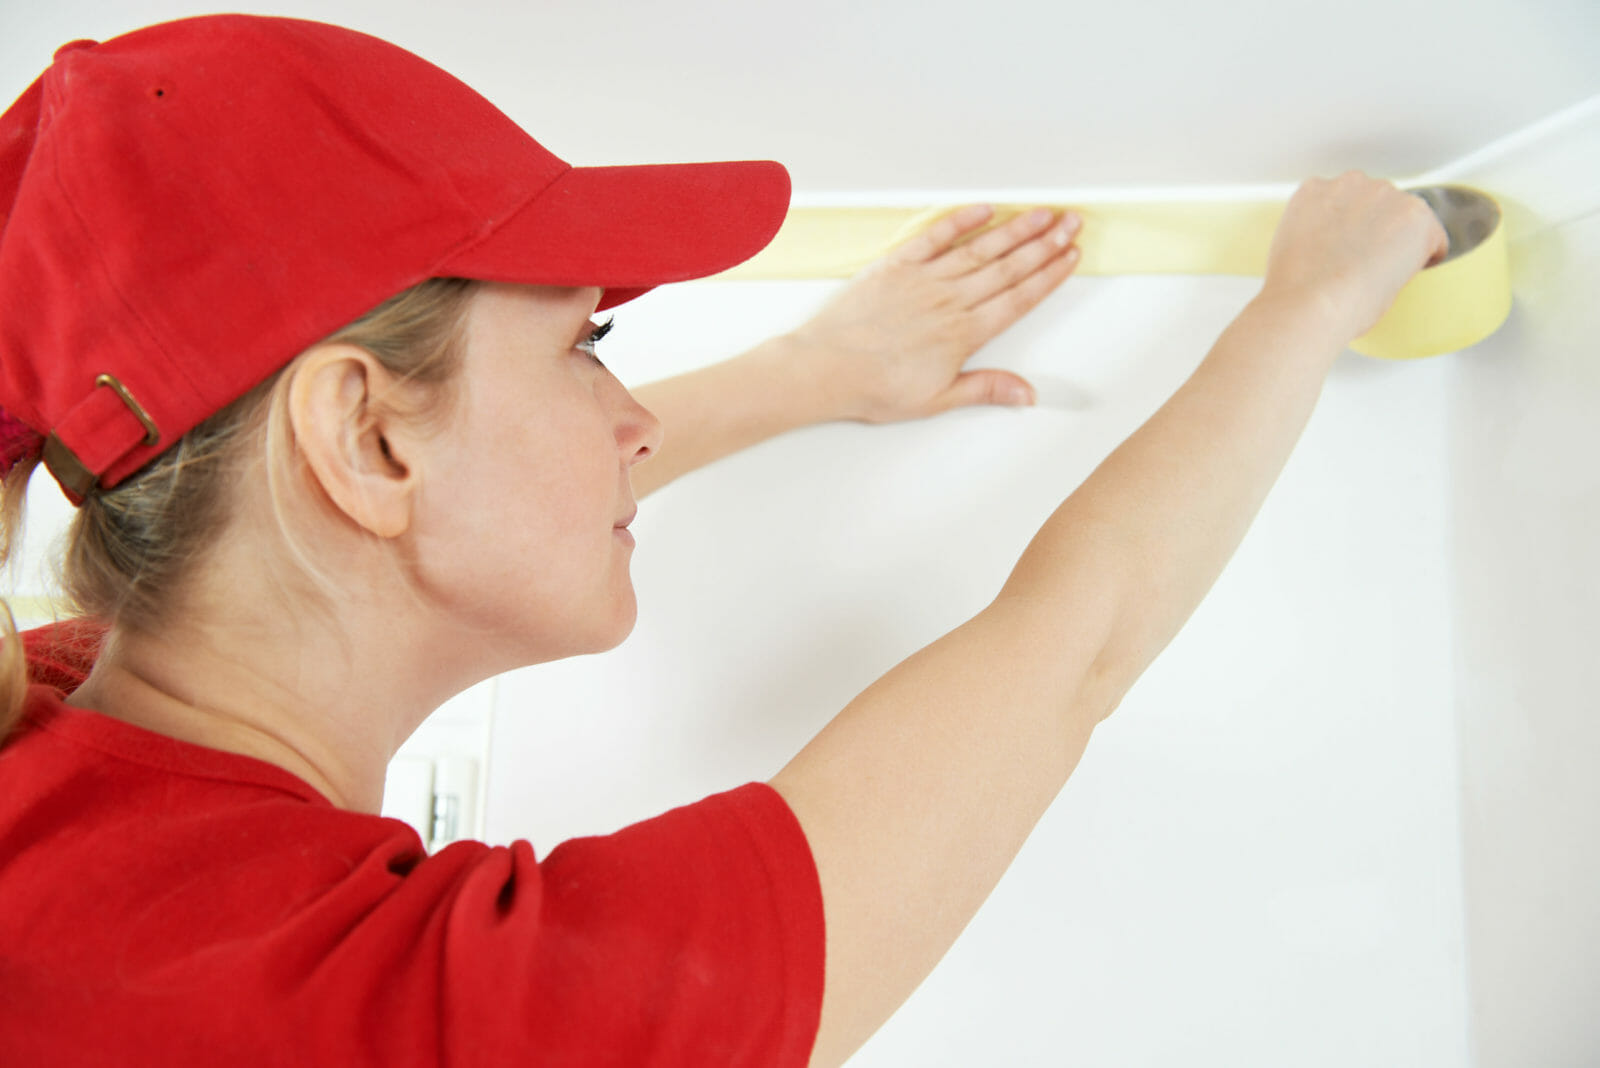
It’s the finishing and detail that separates a pro’s work from the average amateur, but that doesn’t mean that you have to be sloppy. Mask off your light and plug fittings with neat straight lines of masking tape, and do the same with your walls or ceilings, but with decorator’s tape instead, which isn’t as tacky and will not pull paint from the wall or paper.
Prevent paint from bleeding under the tape by making sure that you press it down firmly at the edges. Paint away from the tape rather than towards it, and use a fairly dry brush for the first coat to create a seal along the tape – another great way to prevent bleeding.
It’s also worth taping down drop cloths to protect your carpets and floors from paint. You’ll be amazed (but not in a good way!) at how much mess a single drop of paint spread around the room on your shoes can make.
We also suggest wrapping a black bin liner around your light fittings and covering any furniture that isn’t being removed from the room.
Work from the top down
There’s little point painting or wallpapering your walls and skirting boards and then doing the ceiling and alcoves! Always start at the top and work down to prevent ruining your work.
Touching up
Okay, so we know that you’re exhausted and you want to put your feet up and forget about the decorating, but it’s well worth going around the room and checking for imperfections. In our experience, DIYers who don’t touch up the little imperfections straight away tend to leave them forever – something a pro would never do!
Despite the revival of patterned wallpaper, many homeowners still prefer to paint their walls. It’s often felt that a simple lick of paint, rather than a busy wallpaper, provides a blank canvas which offers more creative design options – allowing them to change the feel of a room by adding curtains and cushions, for example, in complementary or accented colours. Unless you live in a new build or have had your walls plastered by a master plasterer, the best finish for your paint job will always be achieved by using lining paper, because it hides the multitude of small imperfections and cracks that can develop in older properties.
Lining paper can also be used to provide a soft and even base layer for your patterned wallpaper ─ it’s definitely recommended for very expensive papers, as it helps to achieve a much more professional finish.
What is it exactly?
Unlike patterned wallpapers, lining paper is produced from wood pulp, and as with most things, you tend to get what you pay for. Budget papers are usually made with a mixture of recycled paper and virgin wood pulp, and although it’s possible to buy good quality mixed papers, we would definitely recommend professional quality papers made from 100% virgin wood pulp.
Choosing the correct grade for the job
Whilst it’s important to choose a quality paper, it’s much more crucial that you pick the correct grade for the job:
800-1000 grade – these are ideal for providing a really nice finish on new plaster that has no imperfections, or for preparing walls for patterned papers.
1200-1400 grade – probably the most popular all-rounder, 1200 and 1400 grade paper cover more imperfections, making them popular with professional decorators and DIYers alike.
1700-2000 grade – ideal for walls that are in poor condition, and for old houses where the walls have lots of movement.
It’s important to note that as the grade of paper increases in thickness, it becomes much more difficult to handle. 1700-2000 grade papers require long soaking times and careful mixing of adhesives to stick correctly to the wall ─ they’re also much trickier when it comes to papering around corners.
Lining paper is not a magic wand
Lining paper is a great tool for home decorating, but it’s not a miracle worker. It will cover up small imperfections, but if you want the best finish possible, you must prepare your walls correctly. Taking a little extra time to fill any holes and sand down major imperfections will be time well spent.
When it comes to freshening up tired walls, you’re pretty much faced with two options: paint or wallpaper. Whilst the condition of the walls can be a factor in your decision, wallpaper offers much more scope to be creative – but while the colour and pattern needs to be chosen carefully, you also need to make sure it’s suitable for the area you’re decorating.
Let’s take a quick look at the most common types of wallpaper and when/where they’re best used…
Washable
Not to be confused with vinyl wallpaper, washable papers are made with a transparent coating that’s thick and sturdy enough to be wiped down fairly regularly – but don’t mistake that for suitability in high-condensation areas, like bathrooms. Great for grubby little hands, so can be ideal for a kid’s bedroom.
Embossed
These papers have always been popular in older houses where the plaster has seen better days. The raised pattern works wonders at hiding imperfections in the walls, and they’re long lasting because they can be painted when the patterns begin to wear and you need another quick refresh.
Vinyl coated
A great all-rounder! Vinyl papers are reasonably hardwearing, washable and very easy to hang, making them ideal for almost any situation. They can, however, be tougher to strip, simply because they’re so waterproof.
Vinyl
Like vinyl coated papers but on steroids! These are very tough, highly waterproof and very easy to cut and hang. They’re perfect for areas where water’s a problem, so we recommend them for bathrooms – especially ones without extractor fans. While there are lots of pros, there is one con – and that’s that they can be a nightmare to strip because of their naturally high resistance to soaking up water!
Woodchip
Another relatively cheap way to hide imperfections, but much less commonly seen now as it’s perhaps a little old-fashioned. Woodchip can be made washable if you apply a waterproof paint over it, and you can refresh with extra coats if you want to brighten it up or change the colour.
Pulp
A very cheap patterned type of wallpaper that requires some care to hang correctly because it’s usually relatively thin and is prone to stretching – this can make pattern matching difficult and result in poor results if they shrink back as the paste dries.
Anaglypta
Another excellent choice if your walls are a bit tired and bumpy. Anaglypta embossed papers come in a multitude of patterns ─ some random, some geometric ─ and usually require a coat or two of paint to finish them off. Random patterns are much easier to hang, so are ideal for less experienced DIYers!
Blown vinyl
Very much like embossed papers, and another great option for hiding less than perfect walls.
Textured vinyl
Those craggy old walls are well catered for, with yet another choice for covering up the cracks ─ especially in bathrooms and kitchens due to its waterproof nature.
Flock
One of the oldest wallpapers around, flock’s still very popular in restaurants and pubs, but can also make a great statement on a feature wall in your home. They’re delicate, however, so they may not be the best option if you have kids running around.
Hand-printed
Very expensive and tricky to get to grips with, but this wallpaper can produce stellar results. Hand-printed papers are produced by applying a printing block, the width of the paper, by hand. If you fancy something as exotic as this you’ll definitely want to employ a professional to hang it to ensure it looks as good as intended – and be prepared to spend a pretty penny as it’s not the cheapest option on the market!
Luxury
As the name implies, these papers are well made, thick and beautifully designed. They’re often at the forefront of modern design and can cost over £100 a roll! Whilst a DIY enthusiast could hang a paper of this quality, it’s another one that we’d recommend handing it over to a professional.
Metallic
Metallic papers look great on the wall and are often a real talking point. Like mirrors they can make a room look bigger, but it pays to be very careful whilst hanging them to protect the pattern ─ you definitely don’t want to fold or crease these.
Fabric backed
Fabric backing is used on certain foil and vinyl papers to add strength and durability. In essence, the paper backing is replaced with fabric, so they’re super strong, very easy to hang and can be stripped off in whole sheets when the time comes to start again! Perfect for mucky hands because they can be scrubbed like a carpet if necessary.
Natural silk
Natural silk papers are beautiful and delicate, but perhaps not suitable for the average family living room. It’s tricky to hang, easy to rip and completely intolerant of paste that’s been inexpertly splashed on the pattern during the hanging process. They’re worth the trouble for a feature wall in a low traffic area, but you’ll probably want to let a pro have the fun of hanging them.
Borders
Borders are fun! Use them to panel doors, add features to plain walls, split walls between patterned and plain paper ─ let your imagination go wild! They come in many patterns and are usually paper backed with vinyl coating for a reasonably hardwearing life.
If you’re more concerned with getting the existing paper off before hanging the new, then our ‘stripping wallpaper the easy way‘ blog might help – and if you need a hand with hanging your chosen paper and you live in the Leeds area, please feel free to get in touch for a no-obligation estimation!
Even the most enthusiastic DIYer sometimes faces a decorating task that they wish they’d left to an expert. While many jobs can be attempted with limited skills, some more complicated decorating jobs should really be passed on to a professional with the right experience and tools if you want to be sure of a quality finish.
Let’s face it, if you’re having a bash at decorating your home, you don’t want the result to look shoddy! A lick of paint and a bit of sanding is easy enough, but there are some aspects of interior design that take years to get right. If you’re decorating without the right experience, you could end up being reminded of your poor workmanship every time you step into that room – and it won’t be long until you shell out for a pro to make good your mistakes, meaning you pay for the work twice in terms of time, materials and execution!
5 decorating jobs you should hand over to a pro
Here are the main decorating jobs that should be left in the hands of a professional unless you really know what you’re doing…
Patterned wallpaper – lots of people try their hand at wallpapering and the results are good enough, but there are certain circumstances where you’ll be glad of professional help. For example, if you’re covering a room or a feature wall in a paper with a complex pattern, you really don’t want it to become a feature for all the wrong reasons! Matching a pattern properly, and doing so without a lot of waste, is really difficult – but a pro decorator will ensure that the joins are faultless. Similarly, if your house is old and a bit on the wonky side, any type of patterned wallpaper can fast become a nightmare due to the walls not being square – an experienced eye may be the only way to keep the paper straight and looking neat and tidy.
Coving and ceilings – wallpaper and paste in your face or badly cut coving angles where the walls meet could leave your room looking more disaster than designer. Even if you do the walls and paintwork yourself, these jobs are generally better passed on and paid for. Your stress levels will thank you for that little extra investment!
Hall, stairs and landings – ok, so the hallway and landing may not be insurmountable, but scaling the dizzy heights and hard to reach places at the top of the stairs can be a real pain, not to mention dangerous. Unless you have Inspector Gadget arms, you’re never going to manage those extra long lengths of wallpaper, or even the painting if you want to ‘cut in’ professionally. Don’t be a dingbat – call in a pro with the right equipment to safely solve the problem. It’ll take half the time, and look twice as good, and you won’t have a worried other half freaking out about the obvious dangers.
Exterior painting – from the walls themselves, to panels, soffits, fascias and shutters, there are plenty of outdoor areas that need attention to keep your home’s exterior looking smart and shiny. However, much like the previous point, getting up that high, doing a good job and staying safe is not for the faint hearted. Many people find that they’re distracted by the safety aspect, and make silly mistakes, or splatter paint where it doesn’t belong. Don’t put yourself through this unless you have a genuine head for heights, a sturdy ladder and some experience of cleaning up, preparing and painting exteriors.
Could you get your tiling this perfect? Maybe not, but a pro could!
Tiling – yes, some people are perfectly capable of tiling a kitchen or bathroom and doing a good enough job, but the cost of time taken and mistakes made can soon tot up. A pro will get the job done much quicker, with a result that looks just perfect. Spacing, grouting and patterns will be exactly as they should be, and they’ll know where to start to get the most symmetrical and stylish finish.
These are definitely the main decorating jobs that we’d recommend hiring a professional for, but there are some other home improvement jobs that should NEVER be attempted yourself (unless qualified). The main one has to be anything to do with gas or boilers, closely followed by electrical works – and some more complicated plumbing jobs should be left to the experts too.
No matter how hard you try to avoid it when you’re sprucing up your home, decorating mistakes and accidents can happen. All is not lost though – you just need to know how to fix them!
As professional decorators, we know the processes and procedures to avoid the pitfalls of dodgy DIY. But if you’re going it alone, and you suffer a spill or a problem, here are our tips to fixing them quickly and effectively.
Our top tips for fixing decorating disasters!
Scrapes and gouges – been a little heavy handed with the wallpaper scraper? Don’t panic! Gouges and dents in the plaster can be easily fixed with some quick drying filler. Apply according to the instructions and then sand it down once dried to give you a smooth surface.
Colour me bad – if you’ve just applied a coat of paint and you’re not happy with the colour, first of all, you need to give it time! Bear in mind that the colour will change slightly once it dries. Also, when you’ve been staring at the same colour for hours, your perception can become a little skewed – so it’s worth waiting till the next day before you decide to cover it with a different colour. If you like the colour but find it’s still too dark after drying, you can always add some white paint to the pot and add another coat to lighten the effect.
Spilt paint – if it’s still wet, use some kitchen towel to soak up the excess. If it’s already dried, apply some warm water and a little washing up liquid with a cloth and let the paint soften – then gently scrape off the carpet with a palette knife. You may need to repeat the process a few times to get it all up. For hard surfaces, a credit card can remove the paint without damaging the surface, but be gentle! A little turpentine or white spirit can be used if the paint is a gloss rather than water-based.
Air bubbles – if you’ve hung some wallpaper and notice a bubble, you can fix it by making a small incision with a sharp blade, then gently smooth the air out from the sides before smoothing down with a cloth or seam roller. If there’s something trapped under the paper causing the bubble, a slightly larger X shaped cut will allow you to gently lift the paper and remove the offending article with some tweezers, before applying a little extra paste and smoothing it back down – always work from the outside in.
Lifted seams – this is usually caused by not using enough paste on the edges of the wallpaper when hanging. You can apply some extra paste using a thin, artist’s paintbrush, then smooth outwards with a damp cloth, before flattening the edge back down with a seam roller.
Torn paper – if you’ve torn a small piece of wallpaper as you’re trying to place it, you can often do a good enough repair by lifting either edge carefully, applying a small amount of additional paste and smoothing it back down. If it’s a bad tear, gently lift off the whole sheet while the paste is still wet, pulling on the direction away from the sheet next to it, then start again with a fresh sheet.
Measuring mishaps – if you’ve cut a piece of wallpaper too short, don’t throw it away! You’ll almost definitely have a requirement for a shorter piece somewhere in your room, such as above a doorway. Put it aside and use it elsewhere.
Of course if all else fails, you can always call in a professional decorator to help make good the mistake.
If you’re redecorating, stripping wallpaper is an essential but arduous job. You may be going full-out DIY, or taking care of this stage yourself to save money before leaving the rest of the work to a professional decorator.
While it’s a fairly straightforward job, like any aspect of decorating, there are certain processes that are important to follow if you want to get it done efficiently and to the required standard – you can’t hang new wallpaper in lumpy, sticky walls!
Steam strippers are a great idea and can make fairly light work of it, but if you only have one stripper, but several hands on deck, you can mix it up with some manual labour! For some people, they actually find the manual approach quicker and more satisfying. Let’s take a look at the right way to do both.
Preparing your walls for stripping
Whichever method you’re going to use to strip your wallpaper, you need to make sure you cover floors and any furnishing that you can’t remove from the room. If possible, tape some plastic sheeting from the top of the skirting board, and out to about the first couple of feet from the bottom. You can also use towels, large sheets or similar. Remember there’s going to be a lot of water, so also cover any electrical outlets with tape.
The next thing you need to do is find an edge of the wallpaper that’s already lifting from the wall slightly, preferably a top corner. Lift it further with a putty knife and then gently but firmly grip with both hands, and start to peel it back, using a 45 degree angle and moderate pressure. If you can peel the top layer away, continue to do so throughout the room. If the paper doesn’t come away, skip straight to the next step.
Stripping wallpaper – the soak and scrape technique
Use a scoring tool or small knife to criss-cross score marks across the paper – don’t apply too much pressure!
Fill a bucket with very warm water – as hot as you can comfortable submerge your hand in – and some washing up liquid or fabric conditioner.
Use a car washing sponge to wet the walls liberally – leave to soak.
Make a cup of tea!
Start again! Once you’ve done some more soaking, you can start to scrape the paper – it should peel off in long strips if you place a bit of pressure on the end of the scraper blade as you guide it up, down or across the paper.
You’ll need these if you don’t have a steamer!
Stripping wallpaper with a steamer
This is all pretty much common sense, but do make sure you read the instructions on your steamer carefully. Most steamers have a time limit for being switched on before they need time to cool down.
Just a few things to note:
Don’t put anything except water in the steamer
Don’t hold it in the same place too long, otherwise the plaster underneath can blow
Work by steaming one area, then moving to the direct, next patch, and use your free hand to scrape the bit that’s just been steamed.
Finishing up
Even though all the paper is down, you still have work to do I’m afraid! There will be lots of gluey residue left over from the old paste – and it all needs to come off!
You can use more hot water and washing liquid/fabric conditioner and give it a good going over with a large scraper, or buy a purpose-made gel stripper. Once it’s all off, give it a final wash down in clean water and leave to dry.
It can take the best part of the weekend to strip wallpaper in a large room, or you can call us in and we’ll do it for you!
This website uses cookies to improve your experience. We'll assume you're ok with this, but you can opt-out if you wish.AcceptRead More
Privacy & Cookies Policy
Privacy Overview
This website uses cookies to improve your experience while you navigate through the website. Out of these cookies, the cookies that are categorized as necessary are stored on your browser as they are essential for the working of basic functionalities of the website. We also use third-party cookies that help us analyze and understand how you use this website. These cookies will be stored in your browser only with your consent. You also have the option to opt-out of these cookies. But opting out of some of these cookies may have an effect on your browsing experience.
Necessary cookies are absolutely essential for the website to function properly. This category only includes cookies that ensures basic functionalities and security features of the website. These cookies do not store any personal information.
Any cookies that may not be particularly necessary for the website to function and is used specifically to collect user personal data via analytics, ads, other embedded contents are termed as non-necessary cookies. It is mandatory to procure user consent prior to running these cookies on your website.