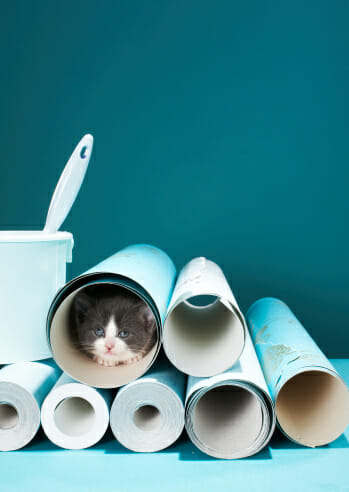
So you’ve chosen you’ve chosen your lovely new wallpaper and you want to get hanging, but before you get out the paste and pasting table, you need to make sure you’ve got a good, blank canvas. Follow this simple guide to prepare your walls for wallpaper and you’ll be sure of an expert finish!
Decorating isn’t everyone’s favourite job, especially the prep worked involved – but as they say, if a job’s worth doing, it’s worth doing properly and when it comes to wallpapering, never has a truer word been spoken!
Taking time to prepare your walls for wallpaper can be arduous, but it’s essential if you want to achieve a professional finish. It will make hanging your paper much easier, ensure that it stays put and that it won’t be spoiled by unsightly lumps and bumps. Granted, it’s not an exciting job, but it’s pretty easy when you know how… So here’s a quick guide to preparing your walls for wallpapering, the professional’s way.
Step 1 – Strip!
Not a personal statement you understand, but we are, of course, referring to any existing wallpaper. No shortcuts – you need to remove EVERY trace of old paper. Use a steam stripper along with the traditional scraper if you can and get every layer off.
If the current wallpaper has been applied directly to plasterboard, be extra careful not to damage the surface by gouging through the paper or applying too much steam.

Step 2 – Smooth
Gently scrape off any remaining bits of wallpaper or paint with a scraper and then buff and smooth the surface with a sanding block.
Step 3 – Clean
If there’s any mould present, you can wash down these areas with a bleach solution. Otherwise, use sugar soap to wash down the walls, removing any paste residue, dirt and stubborn bits of liner or paper.
Step 4 – Plaster
Often when you remove old paper, some of the plaster underneath will be chipped or flaked. Don’t just ‘paper over the cracks’! Pick out any areas that are coming loose or have become powdery and then repair using filler. Also pay attention to the tops of skirting boards and around door frames too – if you’re left with any gaps after your initial prep work, you can use flexible sealant on these areas to make them good. Once the filler has ‘gone off’, or set, you can use your sanding block again to smooth the repaired areas
Step 5 – Sizing
Apply a primer/sealant or watered-down paste solution with a brush or roller over the entire area to be decorated. This provides a better base for hanging your wallpaper and will make sure it stays firmly fixed in place – it will also make pattern-matching easier, as you’ll be able to slide the paper into position without risk of tearing.
Step 6 (optional) – lining paper
Hopefully your walls will now be fully prepped for hanging your gorgeous wallpaper, but if you have lots of newly repaired and plaster-filled areas or visible hairline cracks, it’s worth considering a layer of lining paper before you put up the good stuff! Once your lining paper is up, leave to dry overnight and then tomorrow, you can get cracking with the real thing!
